
Table of Contents
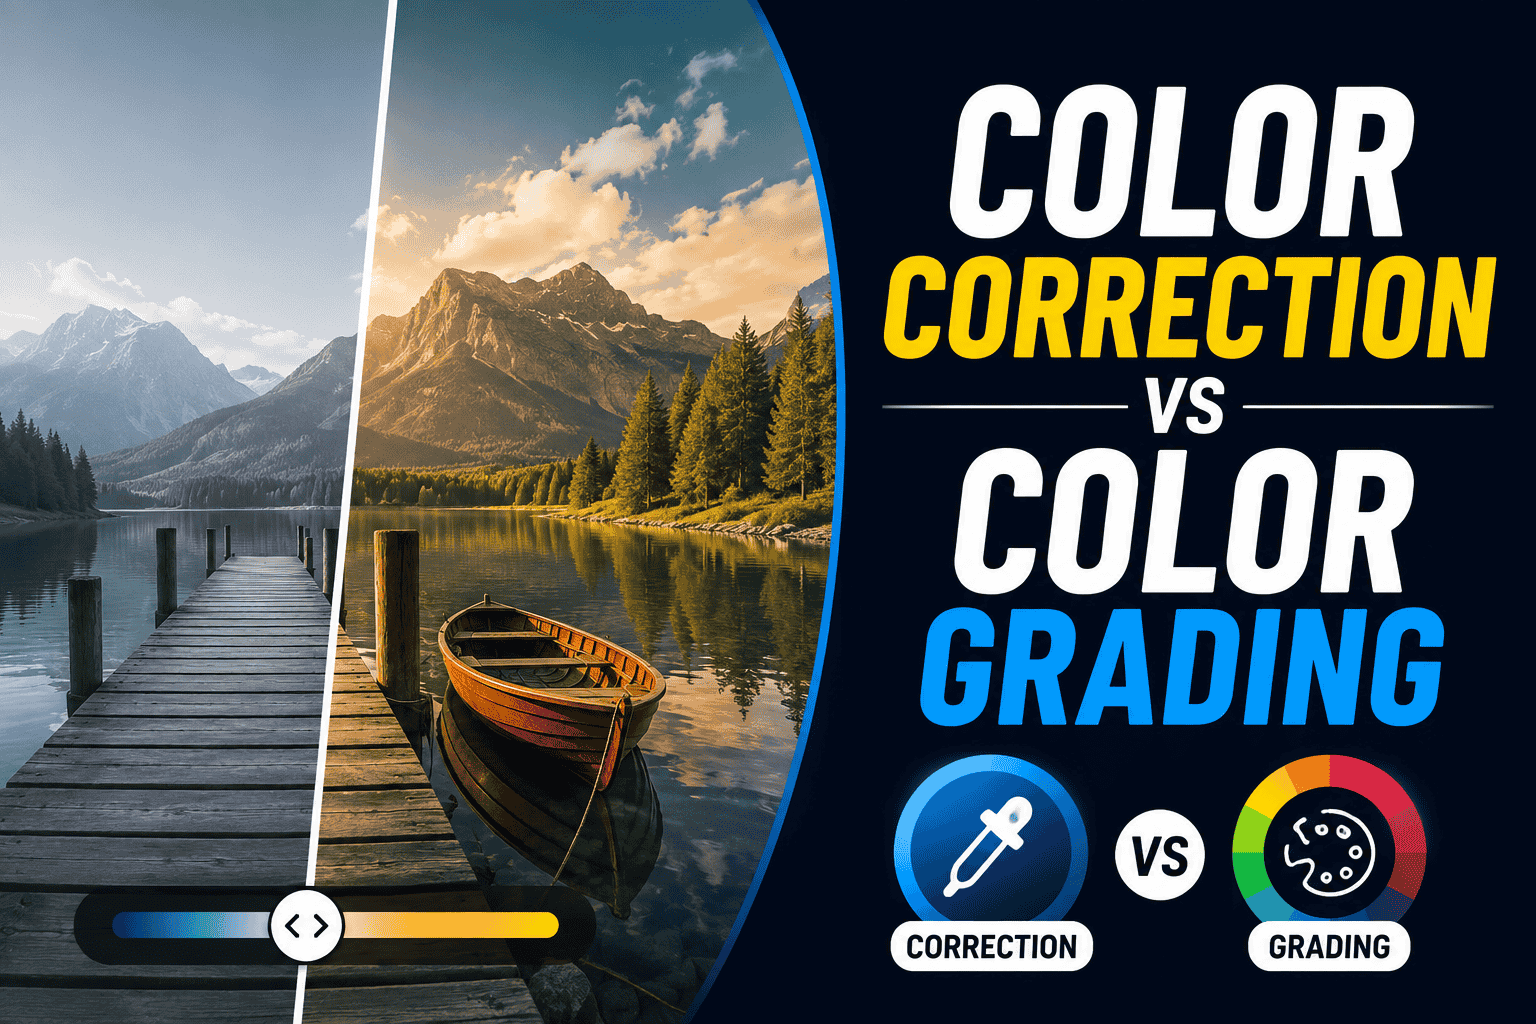
Color correction and color grading are two important steps in professional photo and video editing. Although they are often used interchangeably, they serve different purposes.
Color correction focuses on making an image look natural, balanced, and technically accurate, while color grading adds a creative style, mood, or cinematic appearance.
Understanding the difference can help you create better photos, videos, reels, and other visual content.
.jpg)
What Is Color Correction?
Color correction is the process of fixing the technical appearance of a photo or video. The goal is to make the image look balanced and consistent before applying a creative style.
Common color correction adjustments include:
- Exposure
- White balance
- Brightness
- Contrast
- Highlights
- Shadows
- Saturation
- Skin tones
For example, if a photo looks too blue because of incorrect white balance, color correction can bring the colors back to a natural appearance.
Why Is Color Correction Important?
Good color correction creates a clean starting point for further editing. It also helps maintain consistency when multiple photos or video clips were captured under different lighting conditions.
.jpg)
What Is Color Grading?
Color grading is the creative process of changing the colors and tones of an image to create a particular mood or visual style.
Instead of simply making the image accurate, color grading gives it a specific personality.
Popular color grading styles include:
- Cinematic
- Warm and vibrant
- Cool and moody
- Vintage
- Film-inspired
- Dark and dramatic
- Pastel
- High contrast
For example, adding warm orange tones to highlights and cooler tones to shadows can create a cinematic appearance.
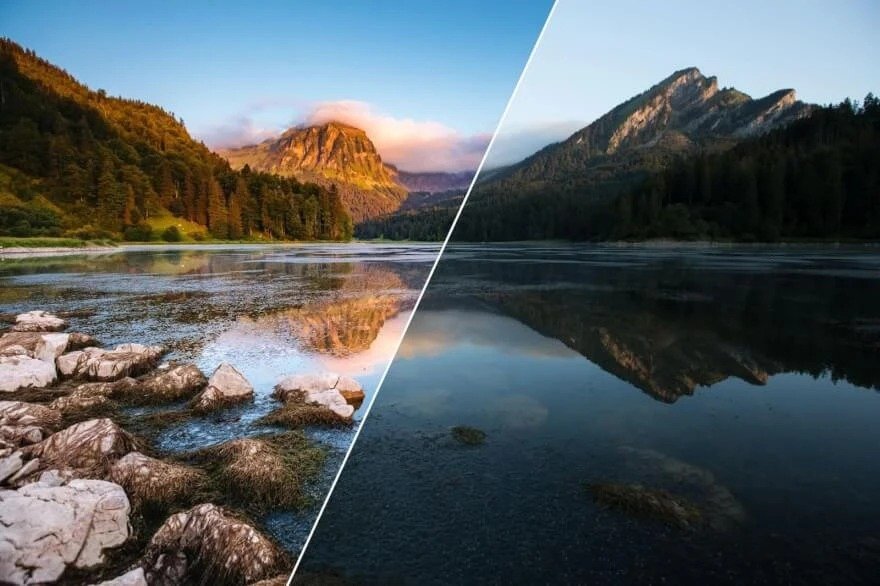
Color Correction vs Color Grading
The easiest way to understand the difference is: Color correction fixes the image. Color grading styles the image.
Which Comes First?
In most workflows, color correction comes before color grading.
A typical editing process looks like this:
Starting with correction gives you a balanced image. You can then apply your creative grade without having to fight against exposure or white-balance problems.
How to Color Correct a Photo or Video
1. Fix Exposure
Start by adjusting exposure so the image isn't unnecessarily dark or bright. Check both highlights and shadows to make sure important details aren't lost.
2. Correct White Balance
Adjust temperature and tint until whites look neutral and skin tones appear natural.
3. Adjust Contrast
Add or reduce contrast to create a balanced range between highlights and shadows.
4. Fine-Tune Saturation
Adjust saturation carefully. Excessive saturation can make colors and skin tones look unnatural.
5. Check Skin Tones
When people are present, make sure their skin doesn't appear overly orange, red, green, or blue.
.jpg)
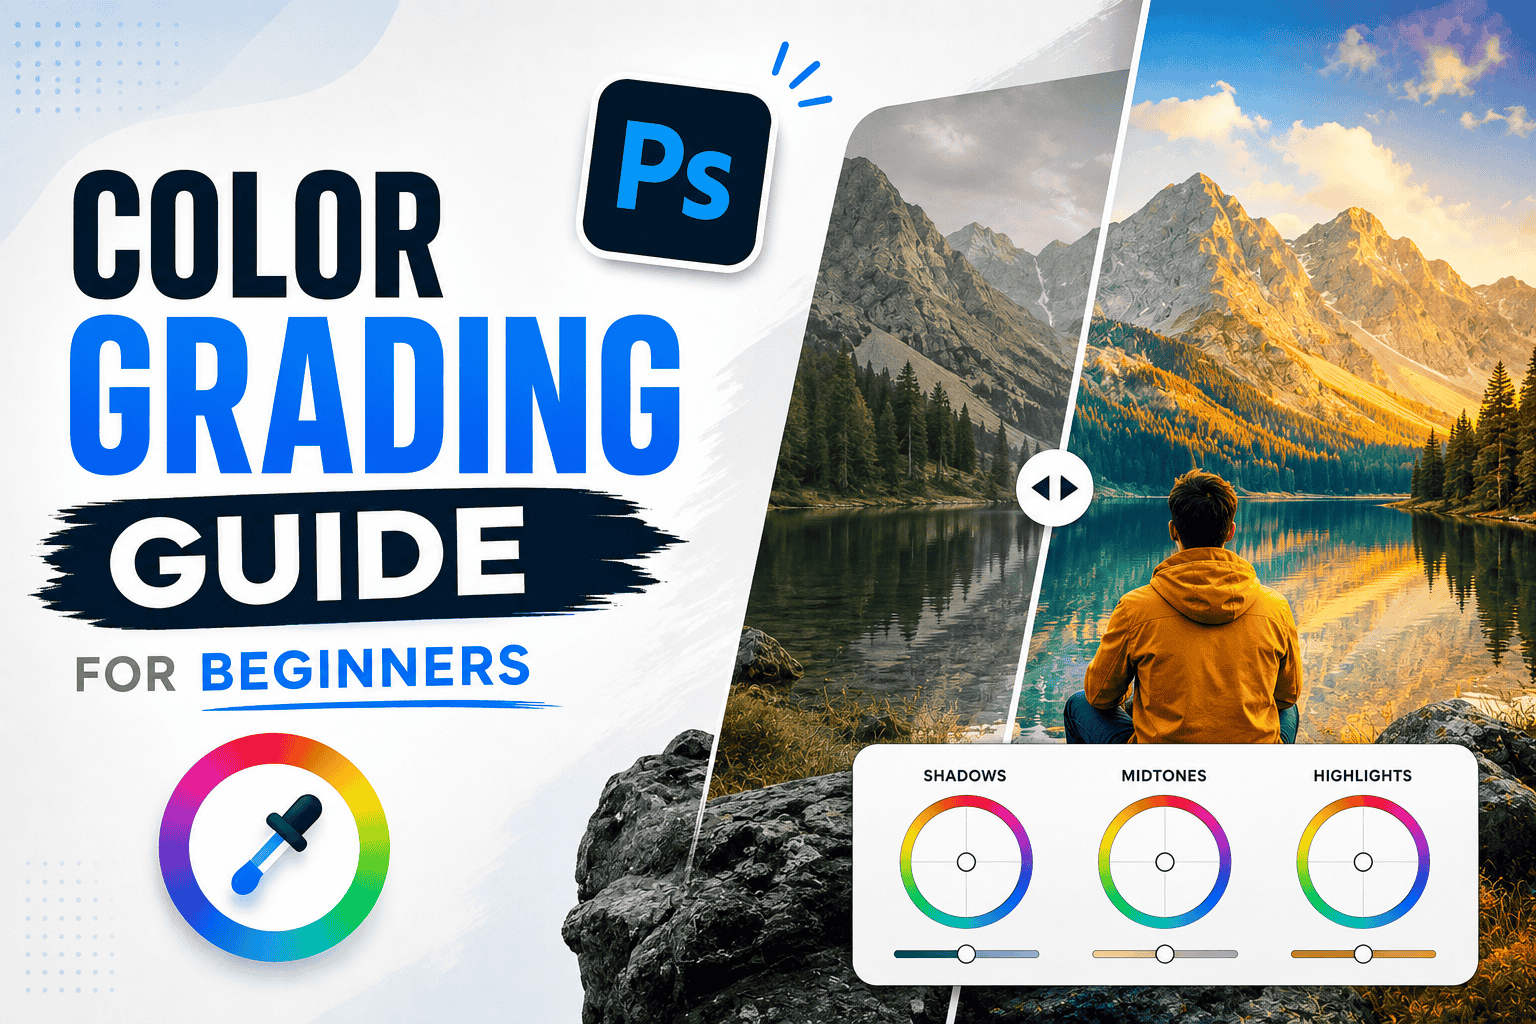
How to Color Grade a Photo or Video
Once the image is corrected, you can begin creating your desired look.
Choose a Mood
Think about what you want the viewer to feel. A warm grade can feel energetic and inviting, while cooler tones can create a calm or dramatic atmosphere.
Adjust Color Tones
Use tools such as color wheels, HSL controls, curves, or split toning to control specific colors.
Control Contrast
A cinematic look often benefits from carefully controlled contrast, but the exact settings depend on the footage and style.
Keep the Grade Consistent
If you're editing multiple clips or photos for the same project, make sure they have a similar color palette and overall appearance.
Best Tools for Color Correction and Grading
You can perform both processes using many popular editing applications.
For Photography
- Adobe Lightroom
- Adobe Photoshop
- Capture One
For Video
- DaVinci Resolve
- Adobe Premiere Pro
- Final Cut Pro
- CapCut
DaVinci Resolve is particularly well known for its advanced color-grading tools, while Lightroom is widely used for photography.
.jpg)
Common Mistakes to Avoid
Beginners often make color grading harder than it needs to be. Avoid these mistakes:
- Applying a creative grade before fixing white balance
- Using too much saturation
- Making skin tones unnatural
- Crushing shadows
- Overexposing highlights
- Using extreme color combinations
- Applying the same preset to every photo
- Ignoring differences in lighting between clips
A professional-looking grade is usually about controlled adjustments rather than extreme effects.
Frequently Asked Questions
Is color grading the same as color correction?
No. Color correction fixes technical problems and creates a balanced image, while color grading adds a creative style and mood.
Should I color correct before color grading?
Yes. Correcting exposure, white balance, and other technical issues first provides a better foundation for creative grading.
Can I color grade photos?
Yes. Color grading isn't limited to video. Photographers can use Lightroom, Photoshop, and other editing software to create distinctive color styles.
What is better for beginners: color correction or color grading?
Start with color correction. Once you understand exposure, white balance, contrast, and saturation, you can begin experimenting with creative color grading.
Final Thoughts
Understanding color correction vs color grading is essential for anyone interested in photo or video editing. Correction creates a balanced and natural foundation, while grading transforms that foundation into a specific visual style.
The best results usually come from combining both techniques: correct first, then create. With regular practice, you'll be able to develop your own color style and produce more polished, professional-looking visuals.


Comments (0)
Leave a Reply